Author

Beth Jane Spins

Browsing

A departure from my usual Peloton musings.  I wrote the original post 4 years ago when we first visited Disney.  This was trip No. 2 and it did not disappoint.  We loved all the new Star Wars additions and with the kids a few years older, we had more rides at our disposal (for example, The Tower of Terror!).  I have to think that all of my Peloton training helped me walk the 9 miles a day through the parks!  New pictures added.

2017 vs 2021

Post Updated 2021

This is not your typical Walt Disney blog where the author tells you where to stay, where to eat and what rides to take.  There are thousands of those blogs.  (Although we stayed at the Beach Club again).   This blog is all about what to BRING to Disney.  By buying in advance we saved a load of money and it was easier than having to go shopping once we landed or checked-in.  Have fun.  Like they say, Disney World is magical!  We had a great time!

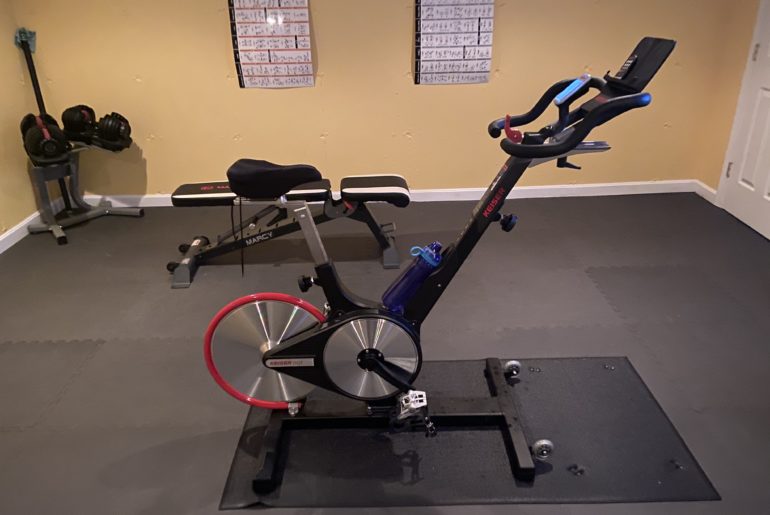
After 550 rides with my first love – this Sunny Exercise Bike – I’ve finally taken the plunge and treated myself to a Keiser M3i.  It is a beauty!   My Sunny was still in great shape and in fact, I gave it to a good friend.  I just wanted something new and shiny now that I proved to myself that I am in this for the long hall.  According to my calculations, I think spent about $0.75 per ride with over 500 rides.

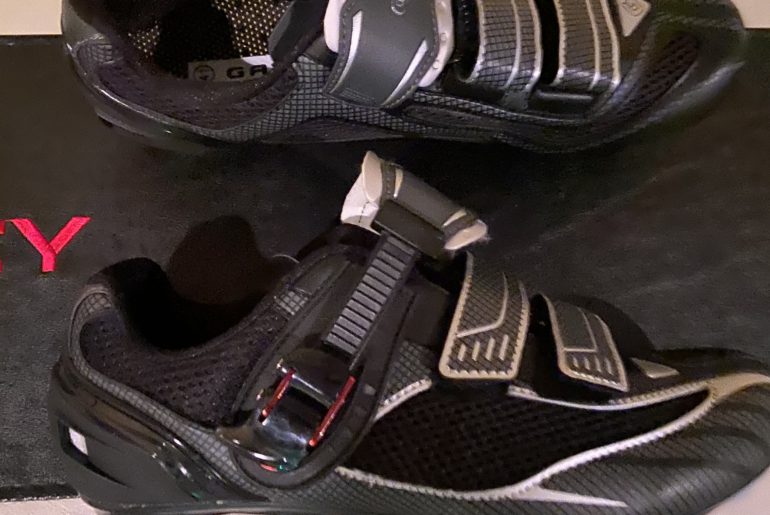
The 2nd most popular question I get (the first being about my disco ball) is about shoes and cleats. For the first couple of years after purchasing my Sunny I just wore my running sneakers and slipped my foot into the toe cage. It seemed fine and I was content but I did have a lingering curiosity.  After 525 rides on my Sunny I upgraded to a Keiser M3i which, like the Sunny, had toe cages on one side of pedal but also allowed me to “clip in” on the other side.  I finally took the plunge and bought some cycling shoes but holy smokes, the whole process was very confusing!!  Only certain shoes are compatible with certain cleats that are only compatible with certain pedals.  In fact, I initially even bought the wrong type.  Ugh. It was like learning a whole new language!  I thought I would share what I learned:

Hi gang,

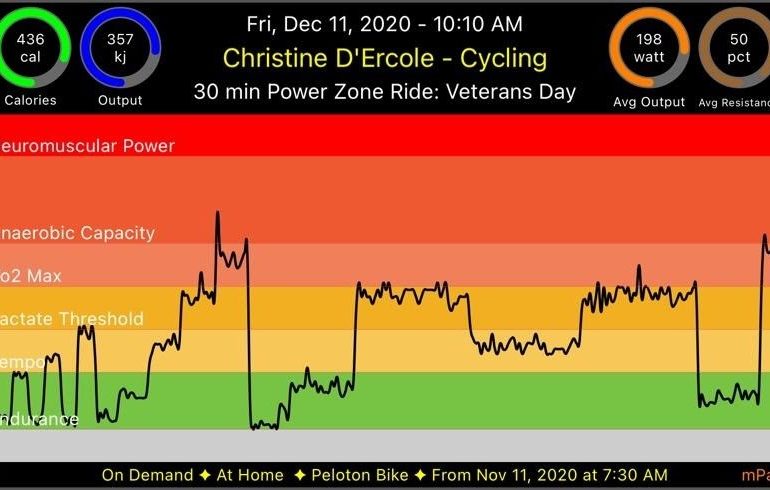
Since upgrading from my Sunny to a Keiser M3i (after 525 rides, thank you very much) I started noticing people posting online these really cool looking graphs from mPaceline.  Intrigued I signed up for the free trial and then moved on to the yearly plan (it was something like $25 for the year). mPaceline is a cycling and running workout App designed to help you visualize your exercise/training metrics. The App works best if you are taking spinning or running classes that provide metrics on your class performance. It’s primarily focused on individuals that own a Peloton Bike, Tread or owners of 3rd-party equipment that use the Peloton Digital App with attached power and cadence meters (like my Keiser). 

Anyway, I started writing a post about all the things I enjoyed about the app but felt like I was falling short describing the awesomeness of this Peloton hack so I reached out to “RiderPaul”, the developer behind mPaceline, and asked that he author a guest post for my readers. I actually met Paul AFTER creating a dedicated mPaceline Facebook group after looking for some like minded users.  Come join – it has grown very fast and full of tips, tricks and helpful advice!

Below, Paul provides some basic information about mPaceline as well as equipment advice for those getting started with Peloton. 

Over to you, Paul:

Are you from Boston and looking for that perfect holiday gift?  Then look no further than my husband’s children’s book, Sully the Squirrel Explores Boston.  It is a well-researched, humorous, and beautifully illustrated tour through the great and historic City of Boston told through the eyes of Sully the Squirrel, a curious little squirrel that has a passion for adventure and is nuts for history (get it?)!  Read on for pictures.

Peloton recently announced that you could now finance the purchase of a new Peloton bike.  Is it a good deal? Here are my thoughts:

Buy Without Financing:  As detailed in my earlier  Peloton App blog purchasing a Peloton bike without financing costs about $3,000 when you add in delivery, $468 class subscription fees for the first year ($39 per month), $125 for clip-in shoes, exercise mat, etc.  Way outside of my budget.

0% APR Financing:  While a 0% down APR sounds like a great detail, the devil is in the details.  For qualified buyers, Peloton allows  you to make 39 monthly payments of $64 for the Peloton Bike+ or $49 for the Peloton Bike (the original). In addition to the cost of the bike, shoes, etc. to qualify for the 0% financing you need to commit to a 39-month class subscription of $39/mo. totaling $1,521.   By my math the grand total over the 39-month period will be almost a $4,053 – $4,455 commitment when you add all the extras.

Pin It